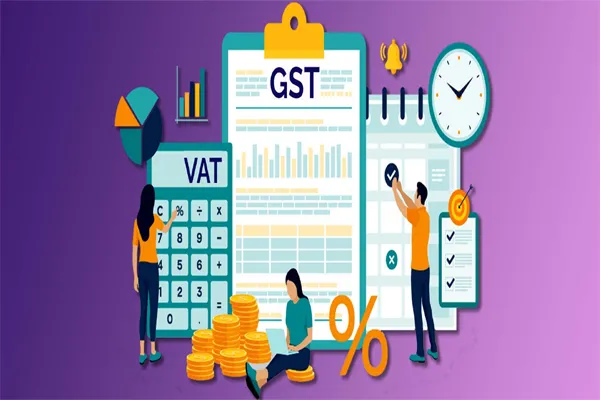
Registering for Goods and Services Tax (GST) is a crucial step for businesses in India. The process is primarily online and can be completed through the GST Portal. Here is a step-by-step guide to help you through the GST registration process:
Step 1: Visit the GST Portal
- Go to the official GST Portal: https://www.gst.gov.in/.
Step 2: Click on 'Services'
- On the homepage, hover over the 'Services' tab.
- Click on 'Registration' and then select 'New Registration'.
Step 3: Fill in the Basic Details
- A new page will open where you need to fill in the details:
- Select 'Taxpayer' under the 'I am a' dropdown menu.
- Choose your state and district.
- Enter the name of your business (as per PAN).
- Provide your PAN (Permanent Account Number).
- Enter your email address and mobile number (both will be verified through OTP).
- Type the captcha code shown and click on 'Proceed'.
Step 4: OTP Verification
- You will receive two OTPs - one on your email and one on your mobile number.
- Enter the OTPs in the respective fields and click on 'Proceed'.
Step 5: TRN Generation
- After OTP verification, you will receive a Temporary Reference Number (TRN) on your email and mobile.
- Note down the TRN for future reference.
Step 6: Log in with TRN
- Go back to the GST Portal.
- Click on 'Services', then 'Registration', and select 'New Registration' again.
- Choose 'Temporary Reference Number (TRN)' and enter your TRN along with the captcha code.
- Click on 'Proceed'.
Step 7: Complete the Application Form
- You will be redirected to the registration page where you need to fill out the following sections:
- Business Details: Business name, constitution of business, PAN, and principal place of business.
- Promoter/Partner Information: Details of promoters/partners including their identity information.
- Authorized Signatory: Details of the authorized signatory.
- Principal Place of Business: Address and contact details of the primary place of business.
- Additional Places of Business: Information about any additional places of business, if applicable.
- Goods and Services: Details of the goods and services you deal with.
- State-Specific Information: Additional information specific to the state.
- Verification: Verify the details and submit relevant documents (like proof of business, identity proof, address proof, etc.).
Step 8: Submit the Application
- Once you have filled in all the details, submit the application using Digital Signature Certificate (DSC), Electronic Verification Code (EVC), or E-Signature.
Step 9: ARN Generation
- After submission, you will receive an Application Reference Number (ARN) via email and SMS.
Step 10: GST Officer Verification
- Your application will be verified by a GST officer.
- If additional information is required, you will be notified.
Step 11: GSTIN Allocation
- Once your application is approved, you will receive a GSTIN (Goods and Services Tax Identification Number) and a GST Registration Certificate.
Important Points to Remember
- Ensure that all details provided are accurate and match your official documents.
- Keep scanned copies of required documents handy for upload.
- Regularly check your email and mobile for updates and notifications from the GST portal.
Required Documents for GST Registration
- PAN Card of the business or applicant.
- Proof of business registration or incorporation certificate.
- Identity and address proof of promoters/directors with photographs.
- Address proof of the place of business.
- Bank account statement/cancelled cheque.
- Digital Signature (for companies and LLPs).
- Letter of Authorization or Board Resolution for authorized signatory.