Define the Purpose
Decide what you want your robot to do. Common purposes include:
- Navigation: Moving from one place to another.
- Interaction: Responding to human inputs.
- Task Performance: Performing specific tasks like picking up objects.
2. Gather Components
You'll need various components depending on the complexity of your robot. For a simple robot, you might need:
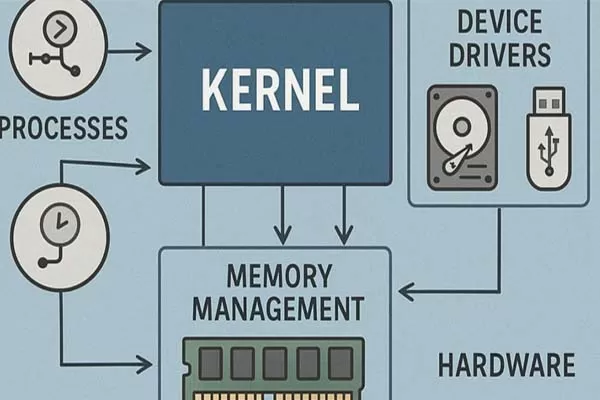
- Microcontroller: Arduino, Raspberry Pi, or any microcontroller to serve as the brain.
- Power Source: Batteries to power the robot.
- Motors: DC motors or servo motors for movement.
- Chassis: The frame or body of the robot.
- Sensors: Ultrasonic sensors, IR sensors, or cameras for detecting the environment.
- Wheels/Tracks: For movement.
- Wiring and Connectors: To connect all components.
3. Design the Robot
Sketch the design of your robot, including where each component will be placed. Consider the size, weight distribution, and aesthetics.
4. Assemble the Hardware
- Build the Chassis: Assemble the frame using materials like plastic, metal, or wood.
- Install Motors and Wheels: Attach motors and wheels to the chassis.
- Mount the Microcontroller: Secure the microcontroller on the chassis.
- Connect the Power Source: Ensure the battery is securely attached and wired correctly.
- Add Sensors: Mount sensors in appropriate positions for detecting the environment.
5. Wiring
Connect all components to the microcontroller. This involves:
- Connecting motors to motor drivers and then to the microcontroller.
- Wiring sensors to the input pins of the microcontroller.
- Ensuring power connections are correct and secure.
6. Programming
Write the code that will control your robot. If you're using an Arduino, you’ll use the Arduino IDE. For Raspberry Pi, you might use Python. Basic programming steps include:
- Initialize Components: Set up motors, sensors, and any other peripherals.
- Write Movement Functions: Functions to move forward, backward, turn left, and turn right.
- Integrate Sensors: Use sensor input to make decisions, like avoiding obstacles.
- Main Loop: A continuous loop that keeps the robot running and responding to sensor input
Testing and Debugging
Turn on your robot and test it. Observe how it behaves and make necessary adjustments. Debugging is a critical step:
- Check Connections: Ensure all wires are securely connected.
- Test Code: Verify the code is working as expected.
- Calibrate Sensors: Adjust sensor positions and sensitivity if necessary.
-
8. Refinement
Improve your robot by:
- Adding Features: Implement additional sensors, better motors, or more complex behaviors.
- Enhancing Software: Refine the programming to make the robot more efficient and responsive.
- Improving Hardware: Use better materials or components to increase durability and performance.
-
Resources and Learning
- Online Tutorials: Websites like Instructables, Adafruit, and SparkFun have numerous robot-building tutorials.
- Books: Books like "Robot Building for Beginners" by David Cook.
- Communities: Join online forums and local robotics clubs to share ideas and get help